Have you checked off all the items on the checklist? Then take some time to set up your Raspberry Pi in peace.
If you run into any problems, don’t hesitate to contact us by email.
Requirements
You need a computer, a suitable SD card for your Raspberry Pi, and an internet connection.
Setting up the SD card
Install the operating system
-
Connect the MicroSD card to your computer. Make sure you know how the SD card is labeled on your computer. If there is still data on the SD card, you should back it up, as it will be lost during the installation. On Windows, you can check this via File Manager (Explorer) > This PC.
-
Download and open the Raspberry Pi Imager from raspberrypi.com/software/. Just follow the installation instructions.
-
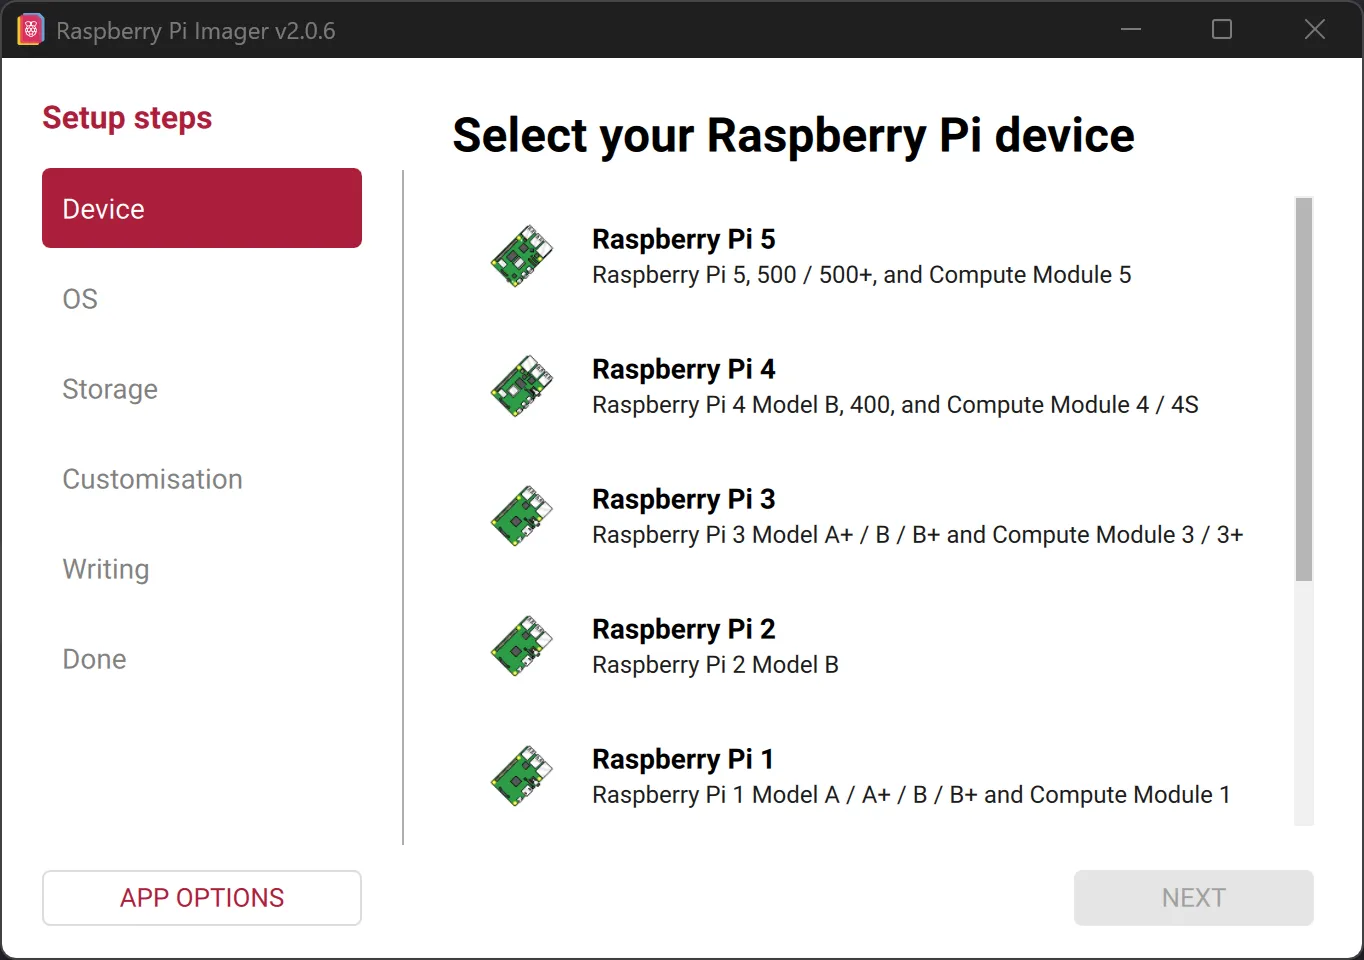
After starting the software, you can select the model you own.
-
Next, select the operating system (glossary)The fundamental software that manages a computer — e.g. Windows, macOS, Linux, or Raspberry Pi OS. to be installed on the Raspberry Pi. First click on
Raspberry Pi OS (other).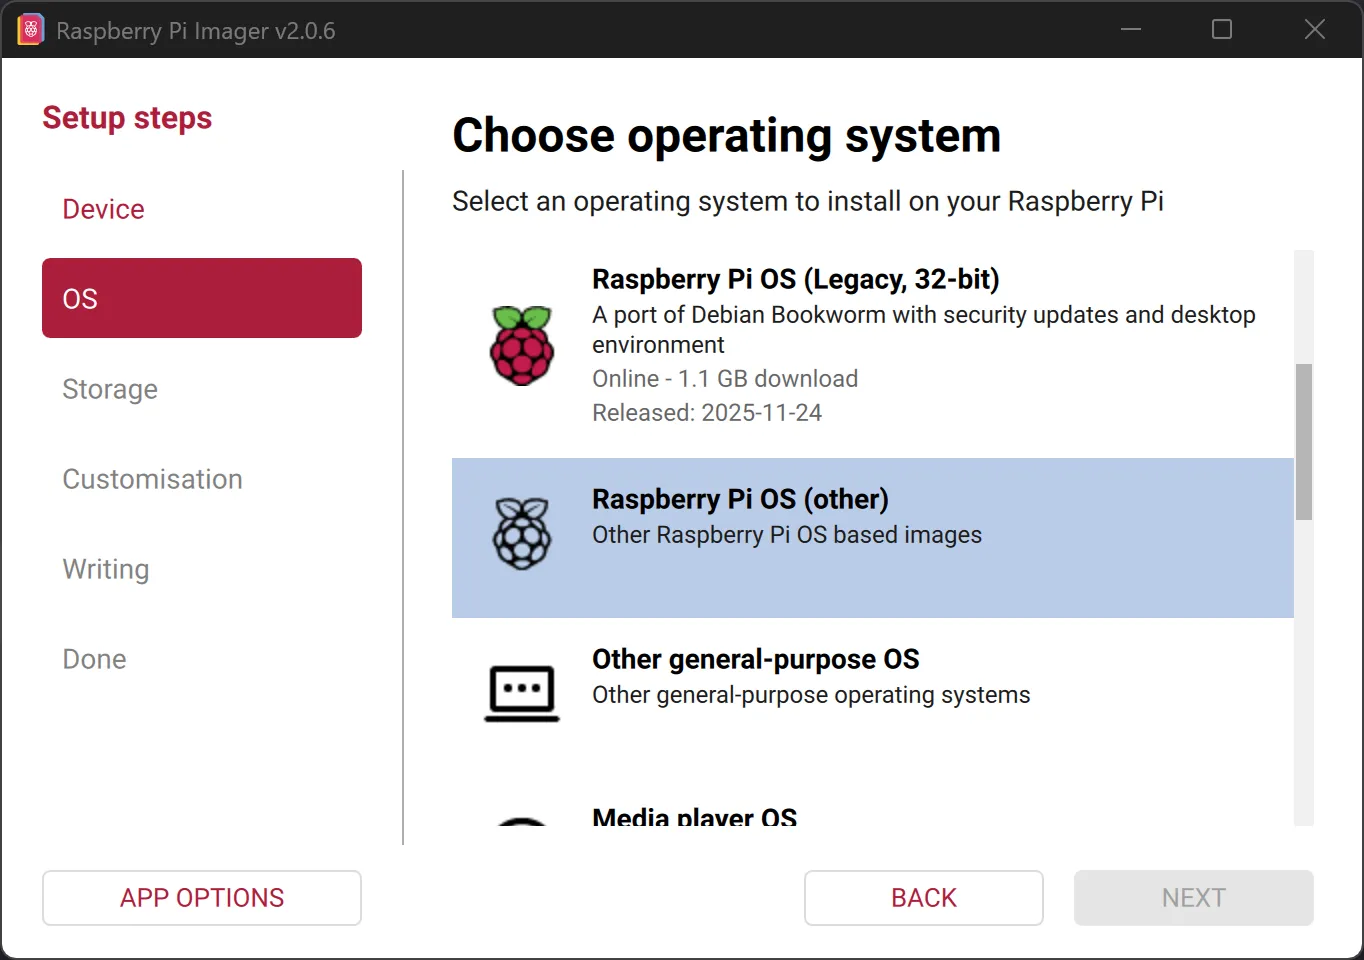
-
Click on
Raspberry Pi OS (Legacy, 64-bit) Lite | A port of Debian Bookworm with security updates and no desktop environment. (Make sure to choose Lite and Debian Bookworm)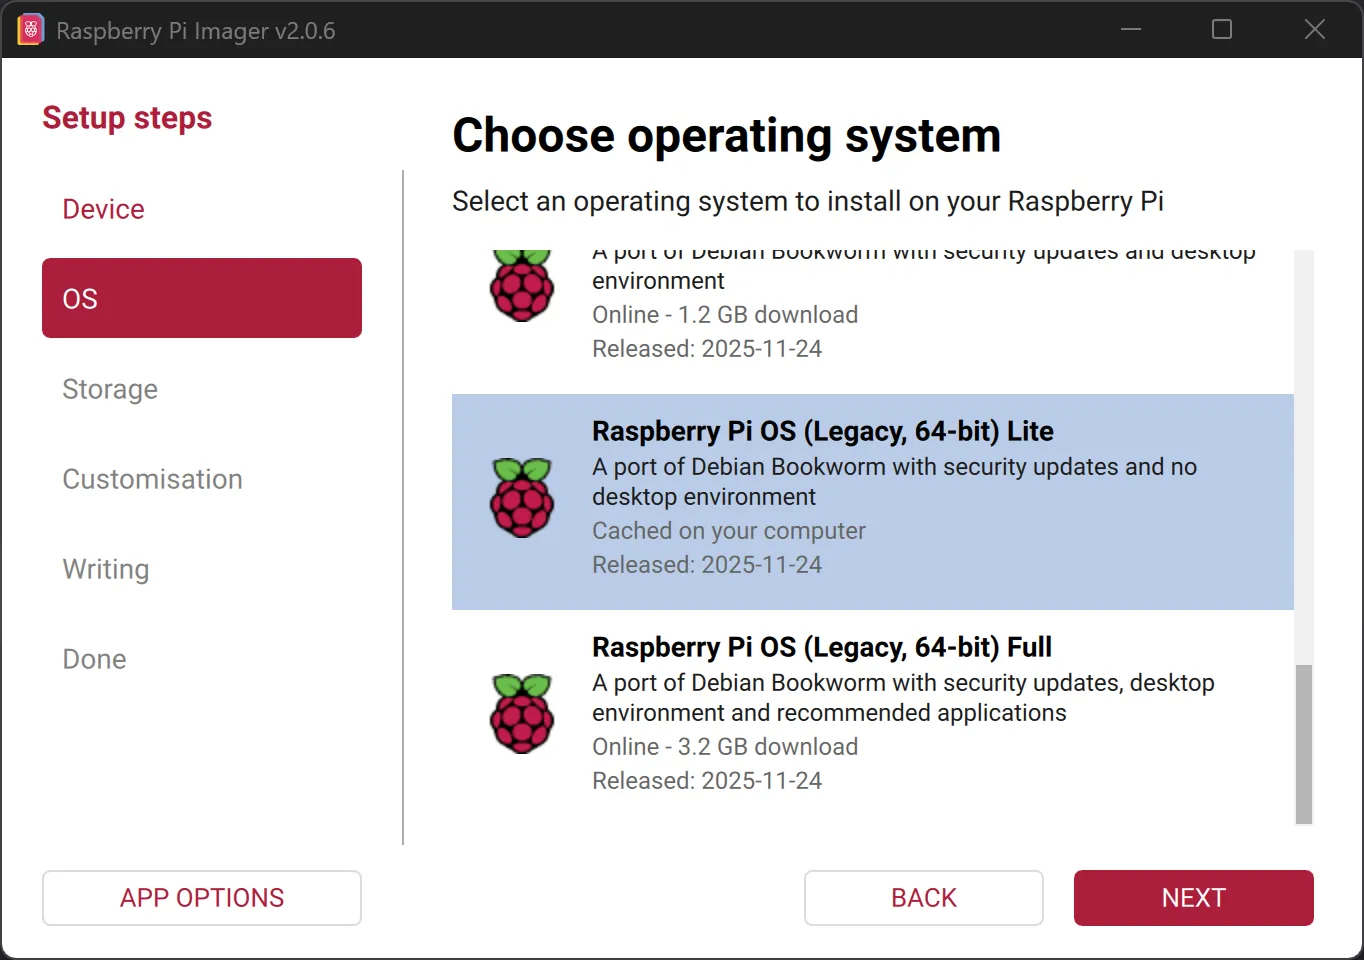
-
Now select the SD card that your BirdNET-Pi should use. To be safe, check the name of the SD card via
File Manager (Explorer)>This PC, because the data on the SD card will be deleted in the next step.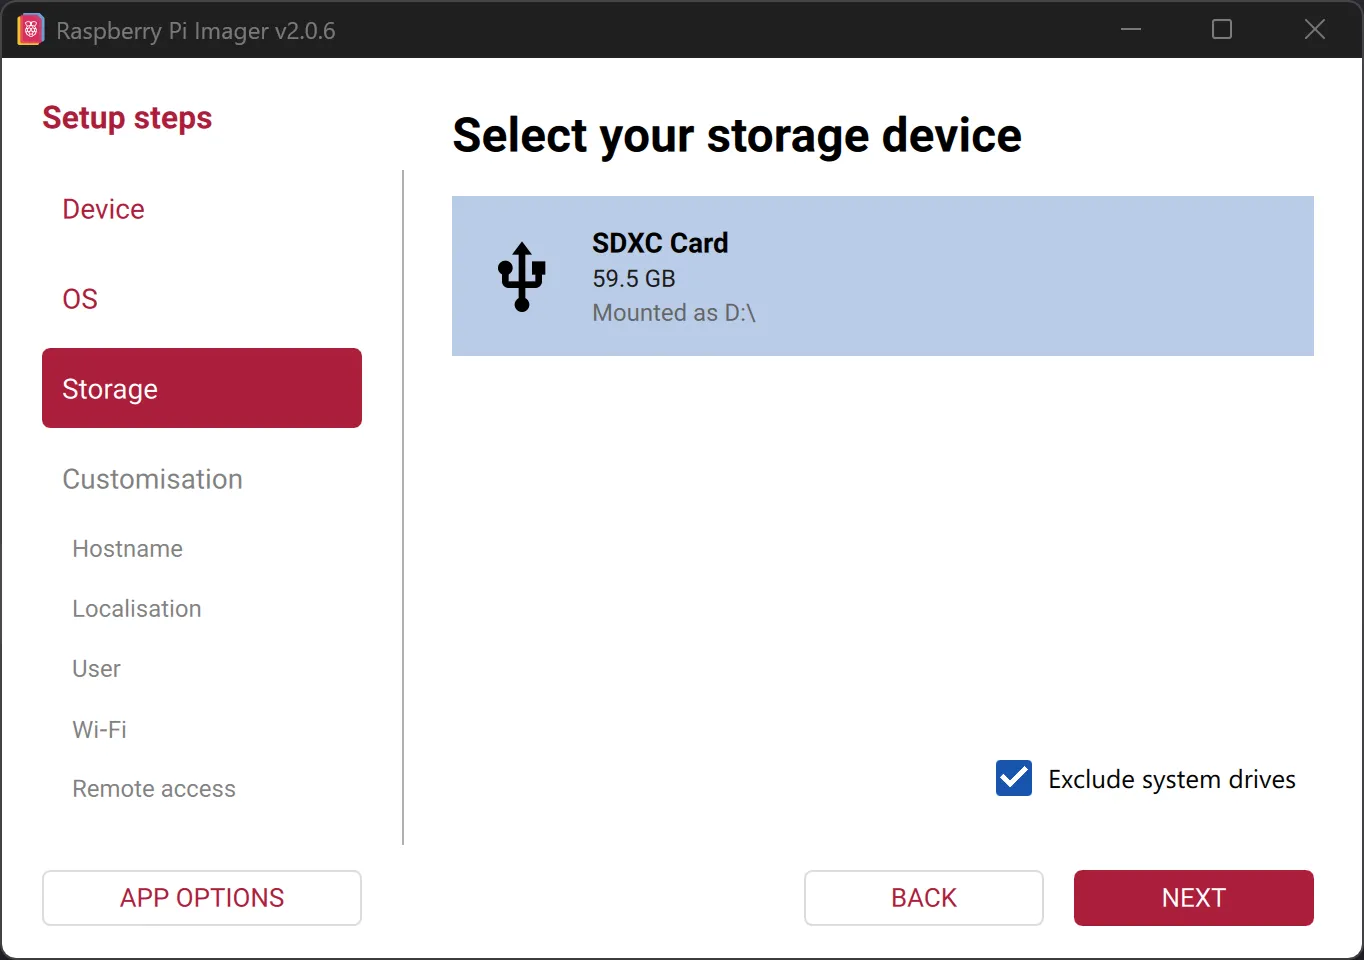
-
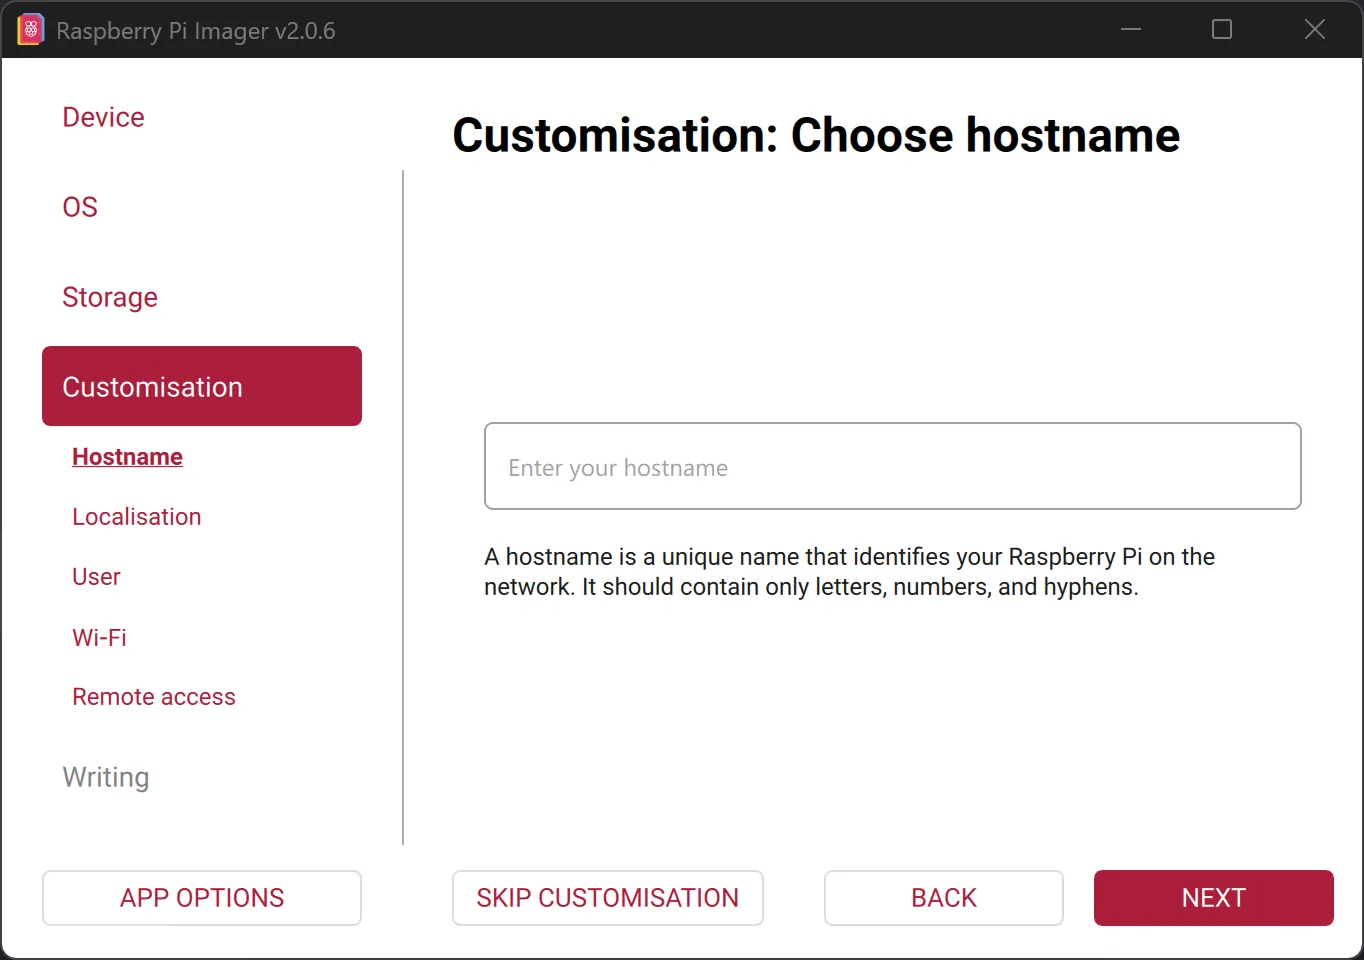
Now a few settings still need to be adjusted.
-
First, set the hostname under which the BirdNET-Pi should be reachable. If, for example, you have several BirdNET-Pis in the same network, you can give each one a different hostname. In this example, the installation will later be reachable at
http://birdnetpi.local, since that is the hostname defined in this step. If this value is not set and the default hostnameraspberrypiis used instead, the BirdNET installation will be reachable athttp://raspberrypi.localby default.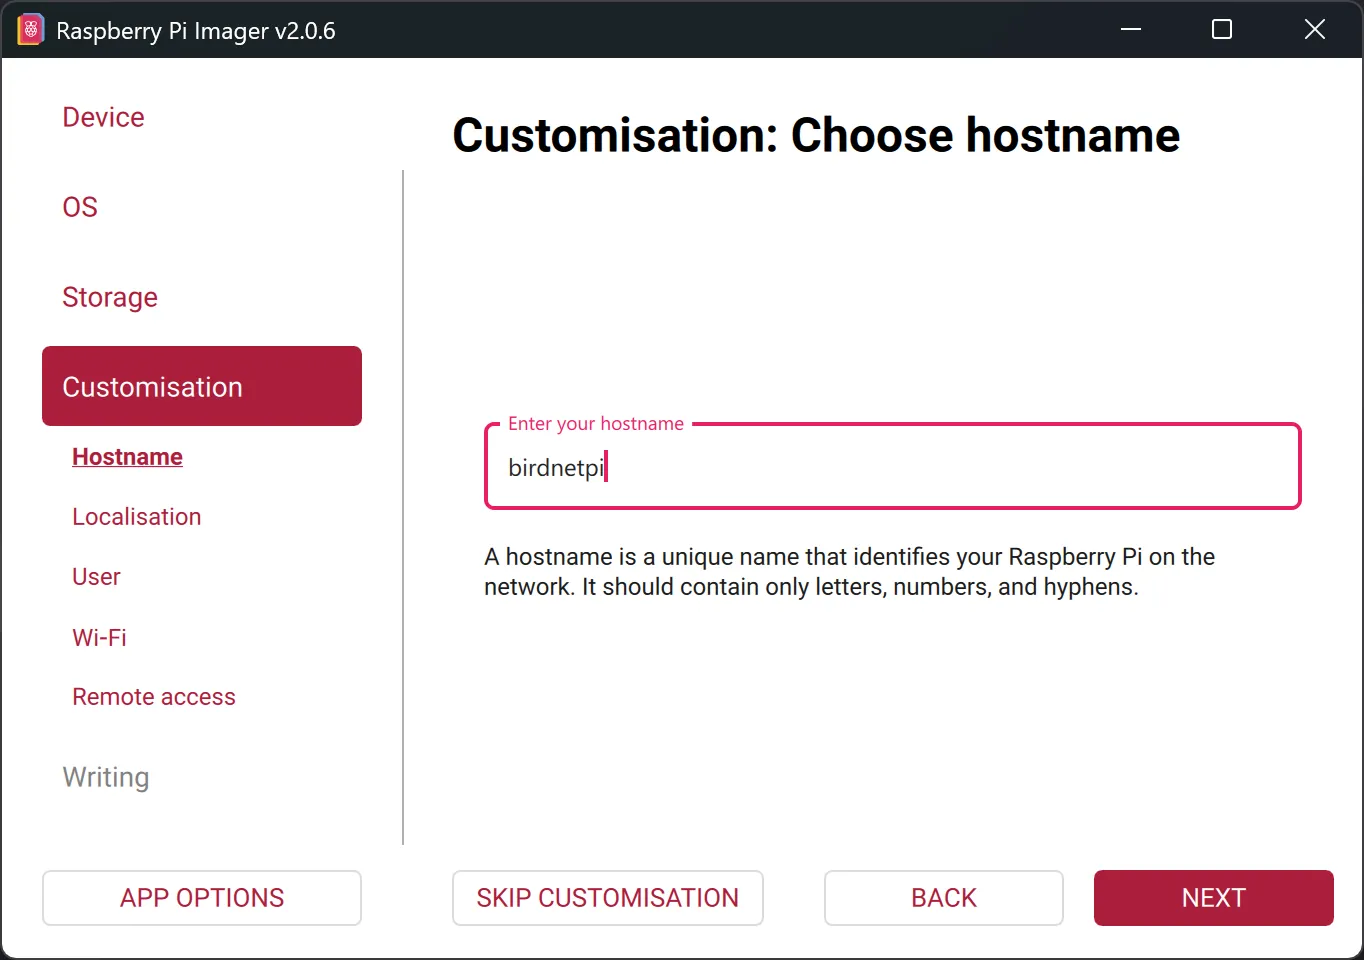
-
Then adjust your
time zoneandkeyboard layout.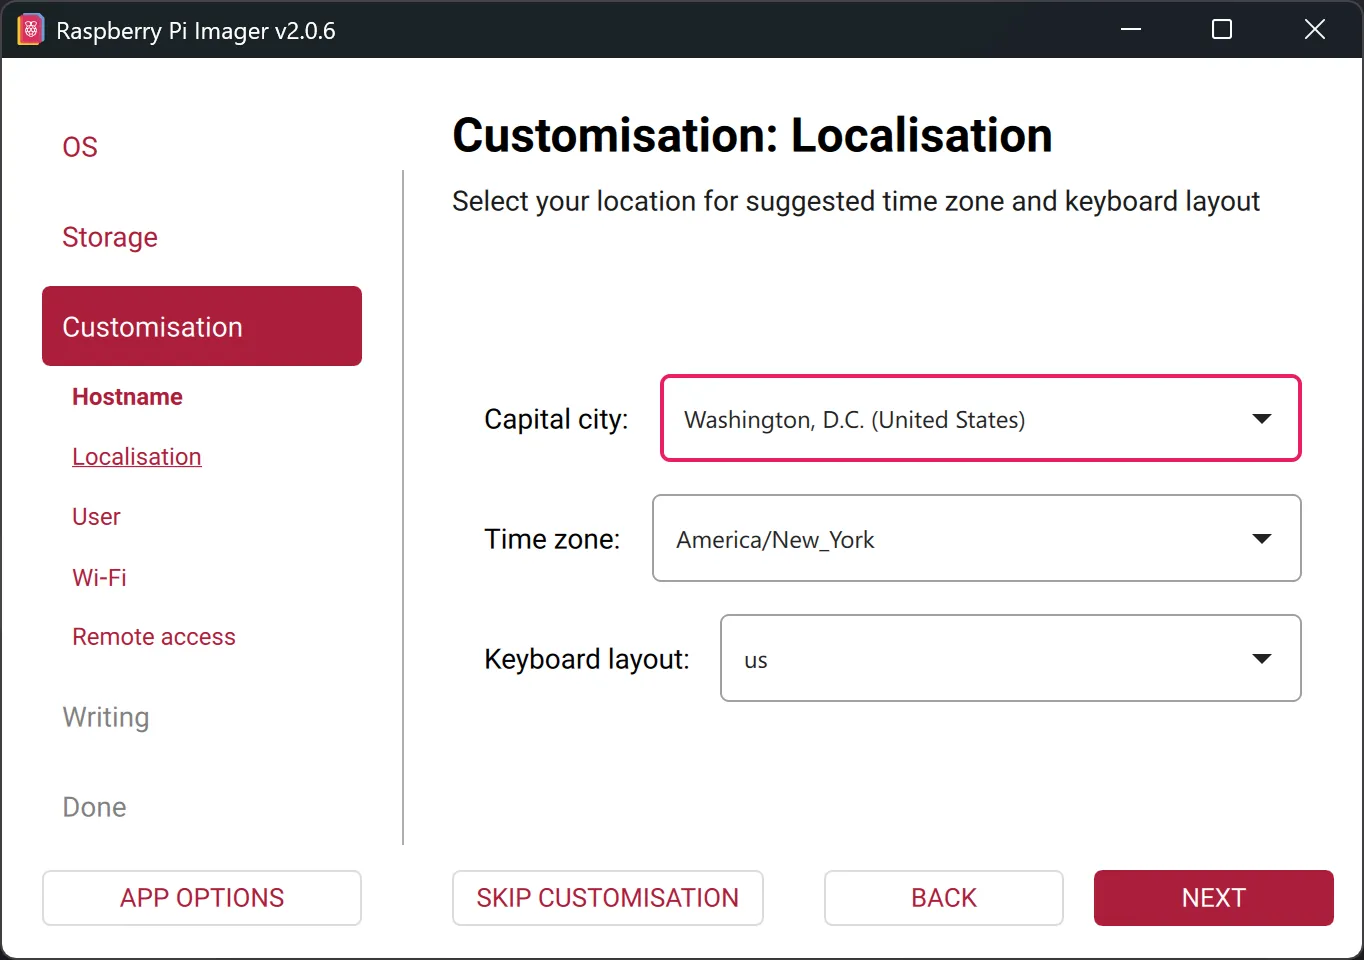
-
Next, we set a username and password that we can use to access the Raspberry Pi later. In this example, we created a user named
birder. Remember the password, because we will need it later.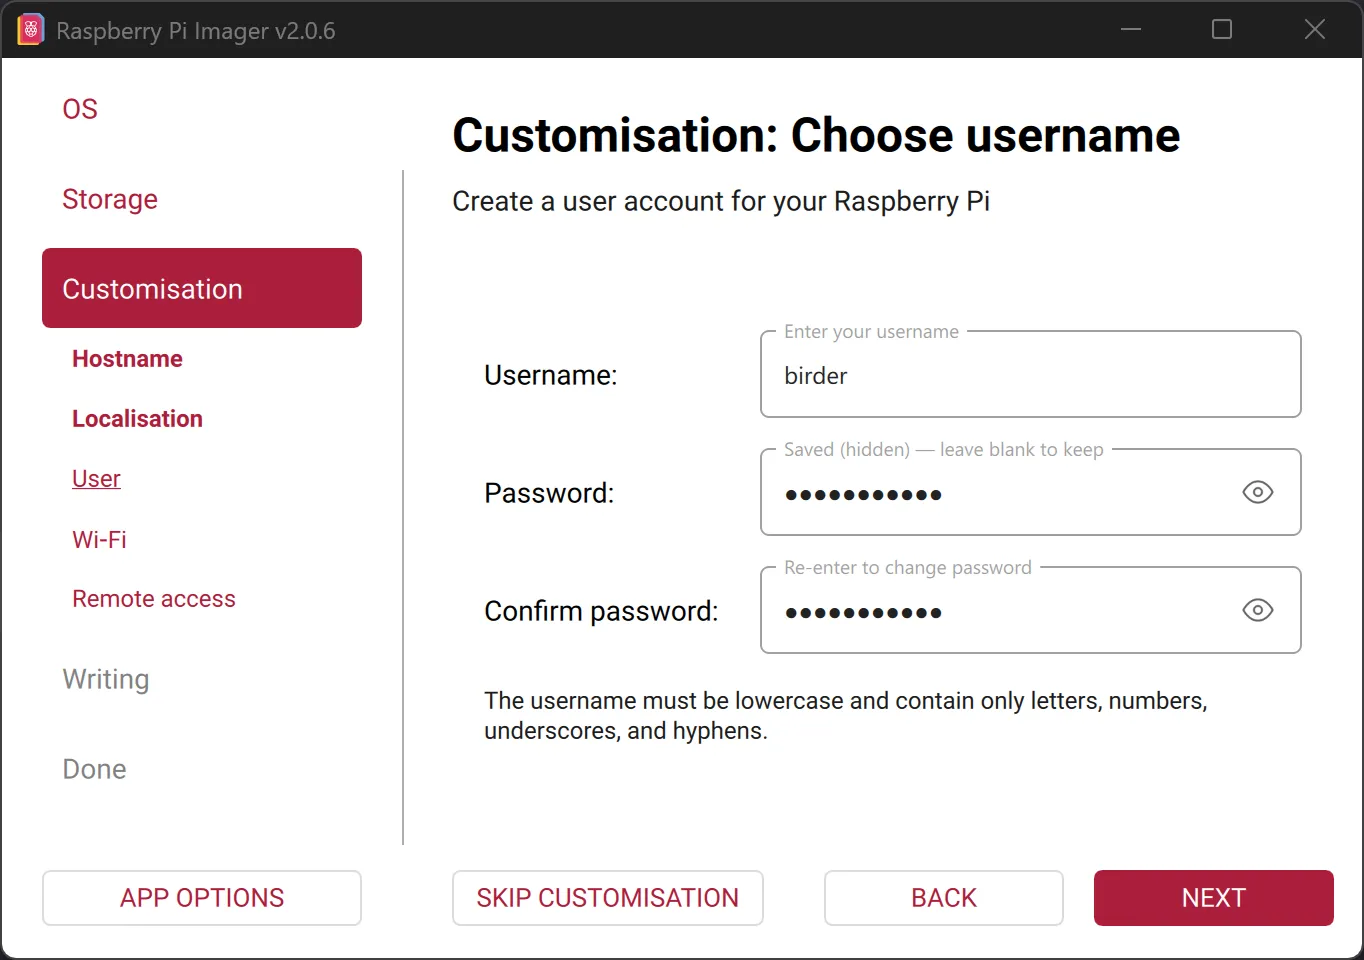
-
Now enter the name of your Wi-Fi network under
SSIDand your Wi-Fi password underPassword. If you are not on your own Wi-Fi, you can also create a hotspot using your PC or phone and enter the corresponding credentials in theSSIDandPasswordfields. If you don’t create the hotspot with your PC, you have to make sure in the later steps that your PC is connected to the same hotspot. Only then are your PC and Raspberry Pi on the same network/Wi-Fi/hotspot. In addition, the device you use to create the hotspot must be connected to the internet.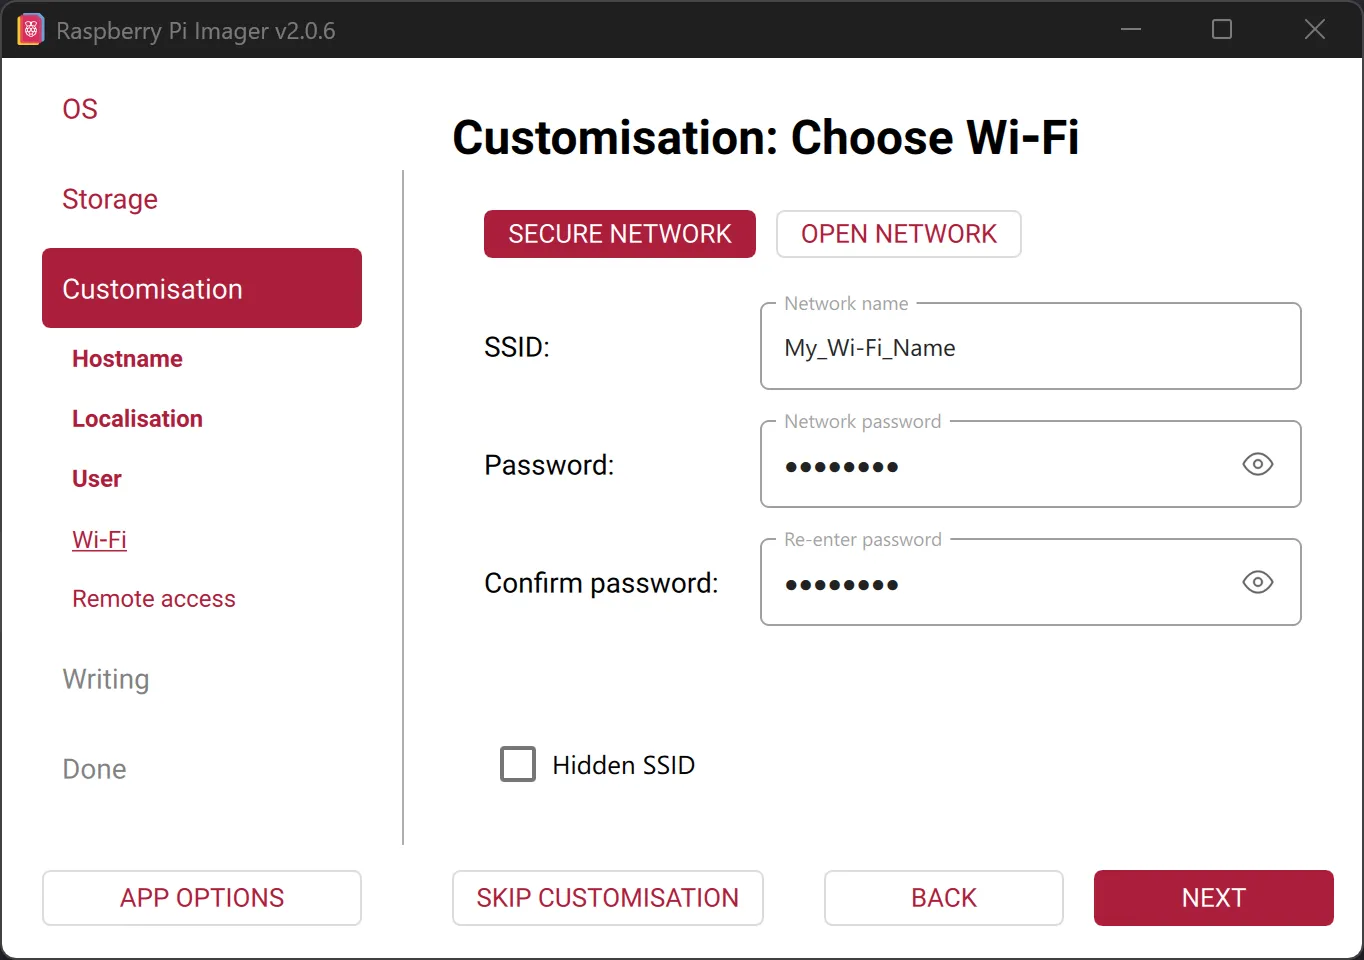
-
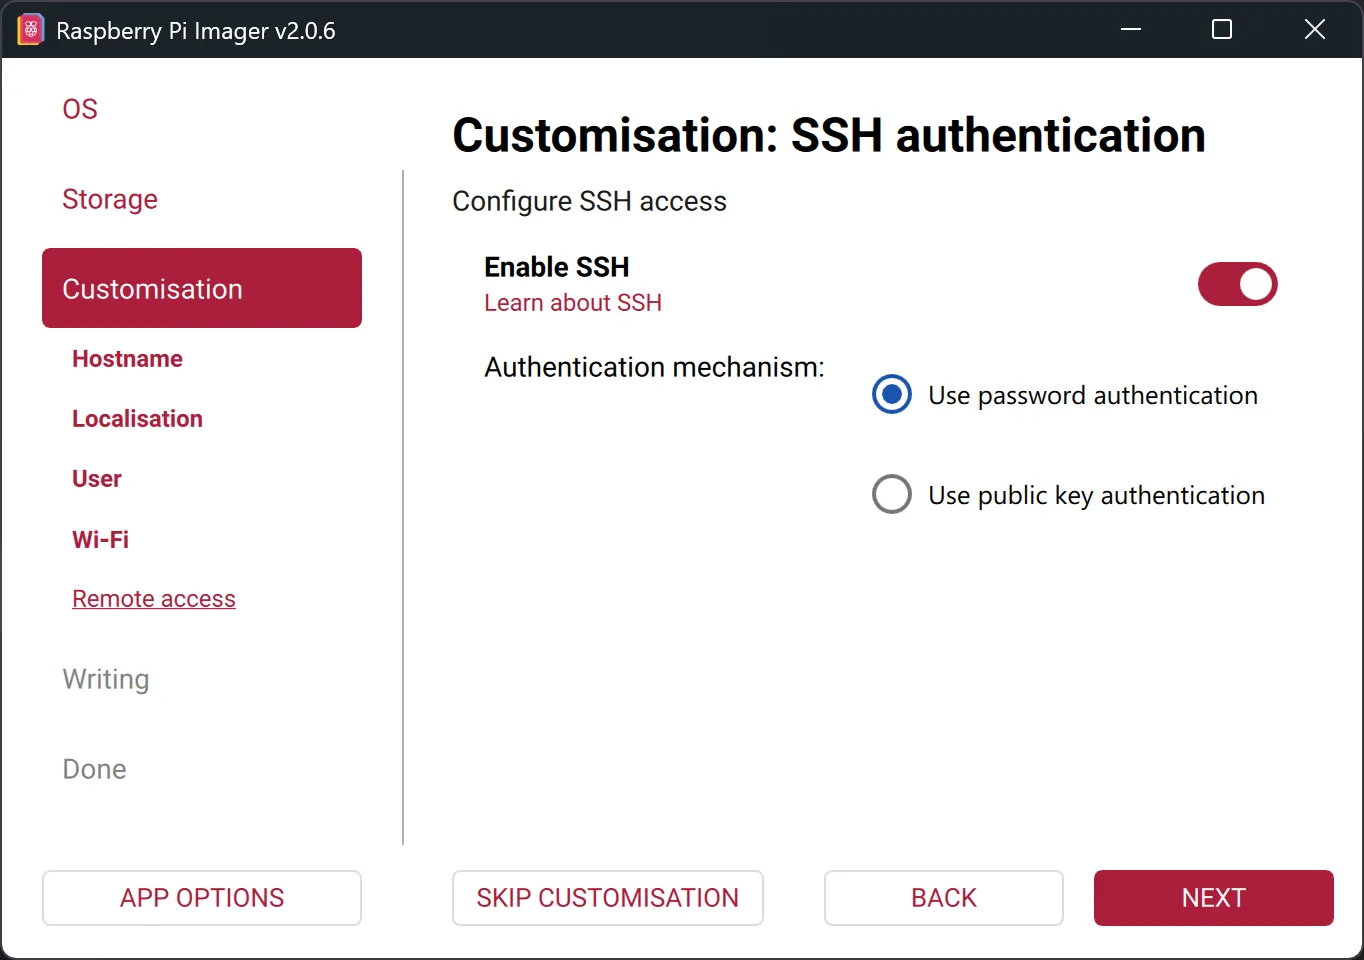
Enable SSH and choose
Use password authentication. This lets you conveniently set up your BirdNET-Pi from your computer, without having to connect a screen or keyboard to your Raspberry Pi.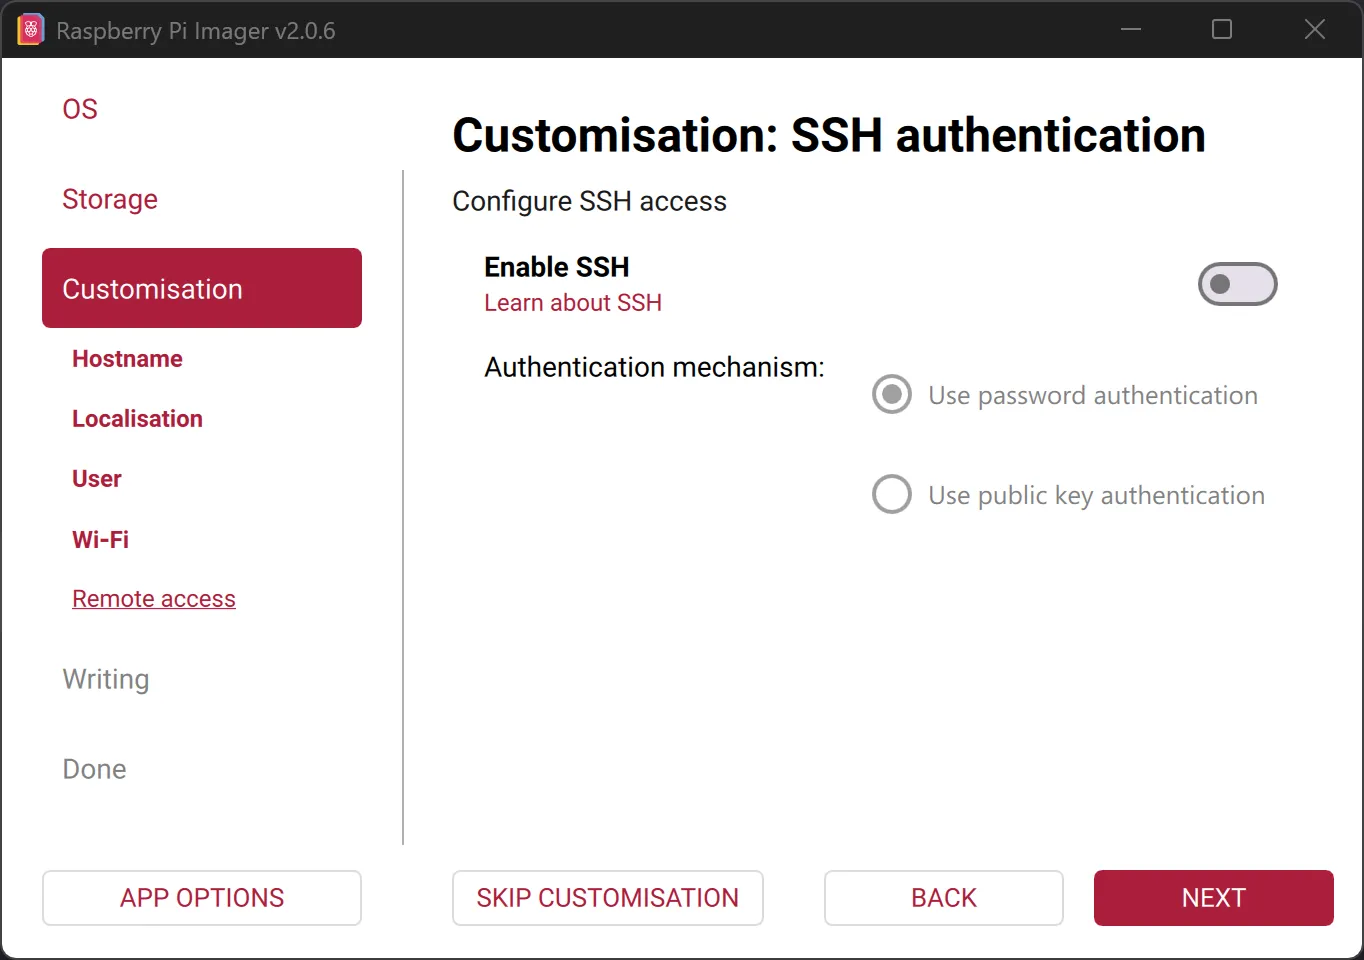
-
Now you will see a summary of the settings once more. Review it before you click
Write.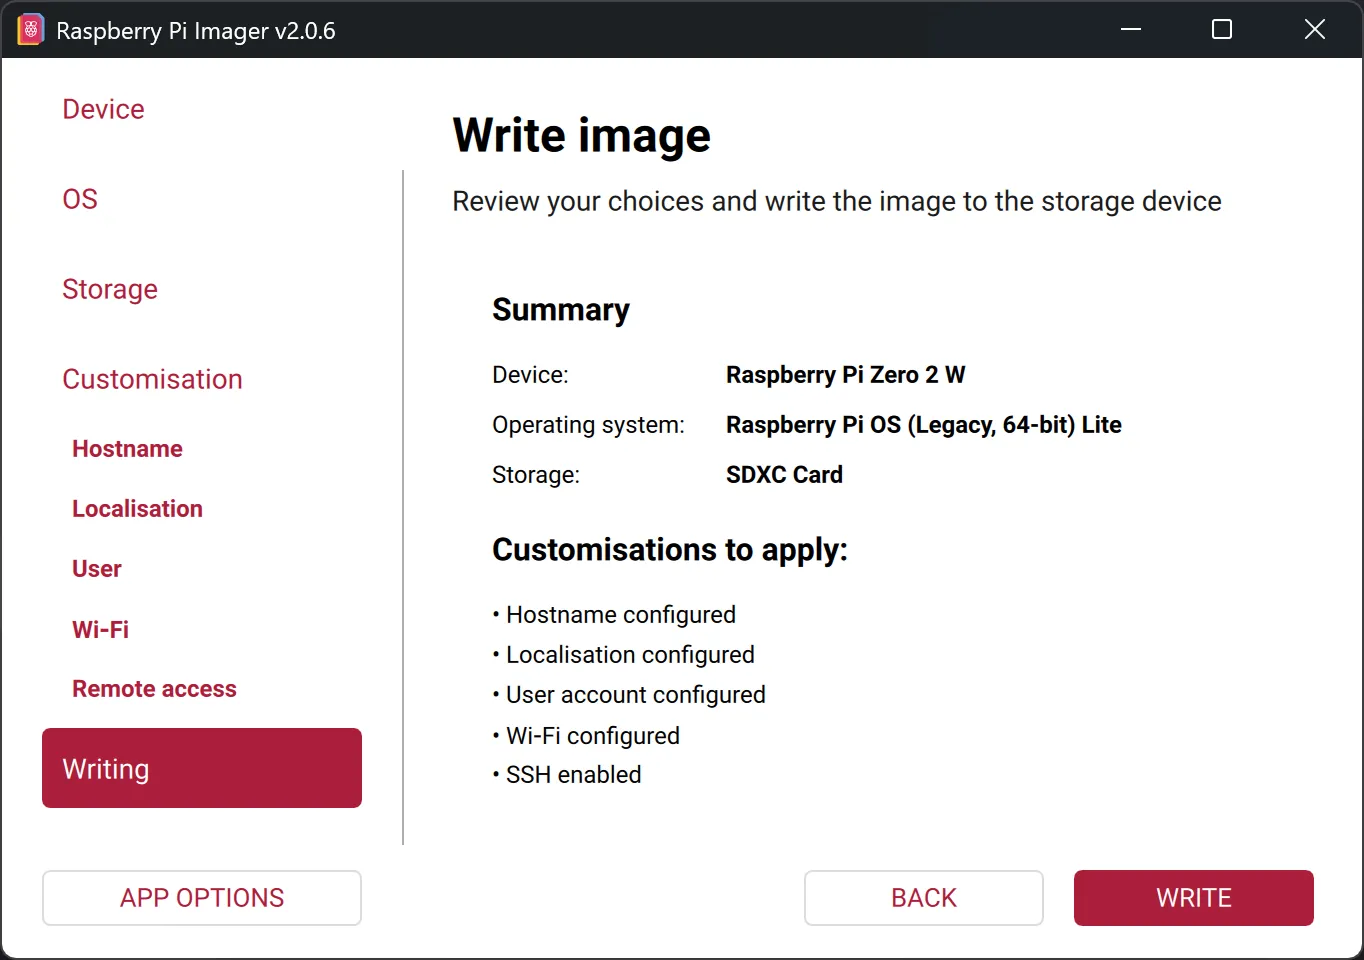
-
Click on
Yes, erase and write.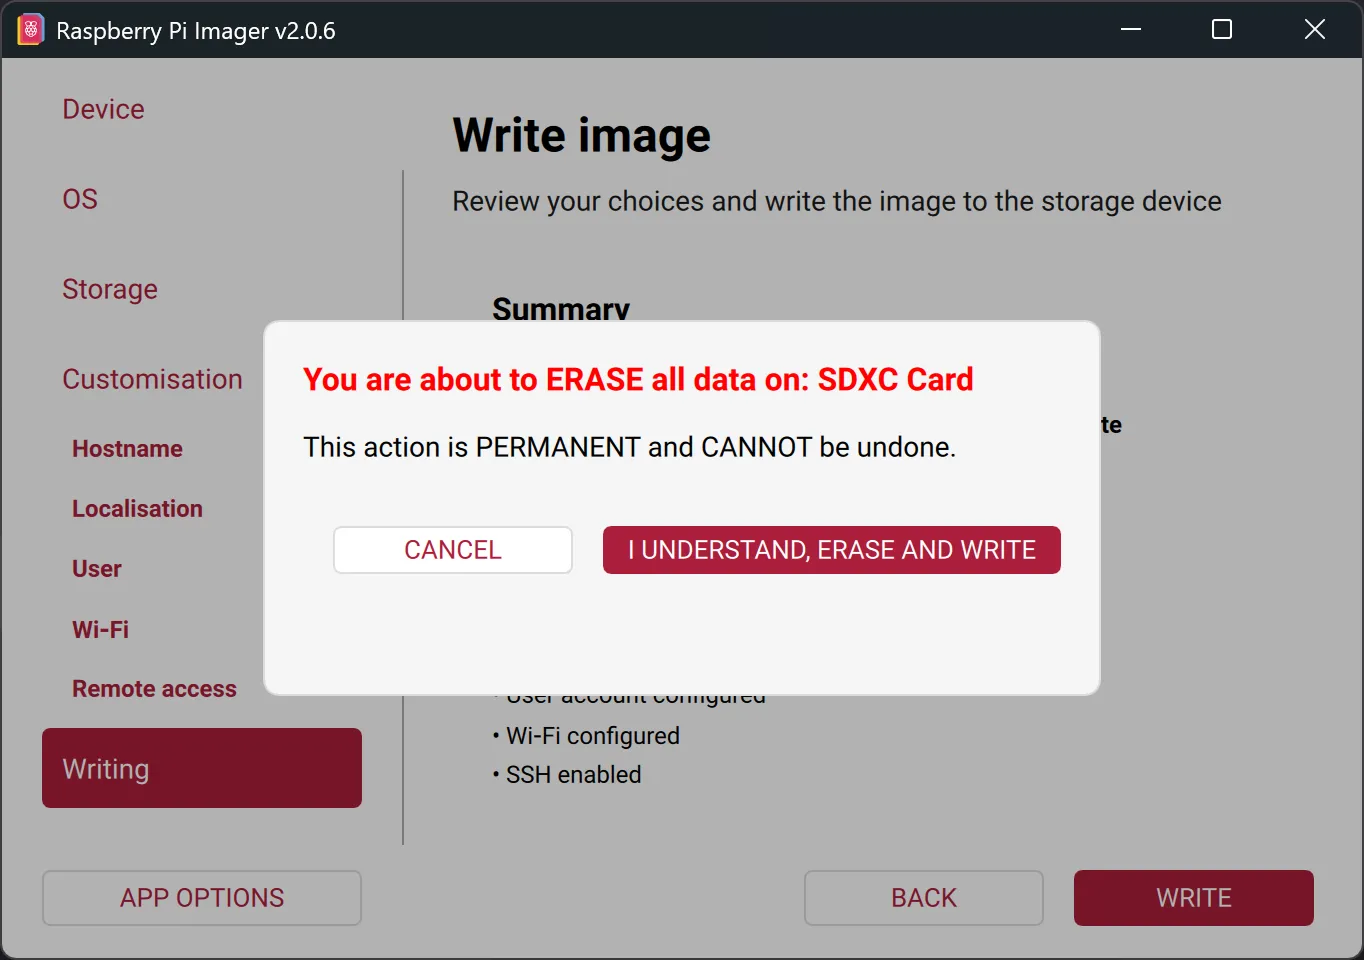
-
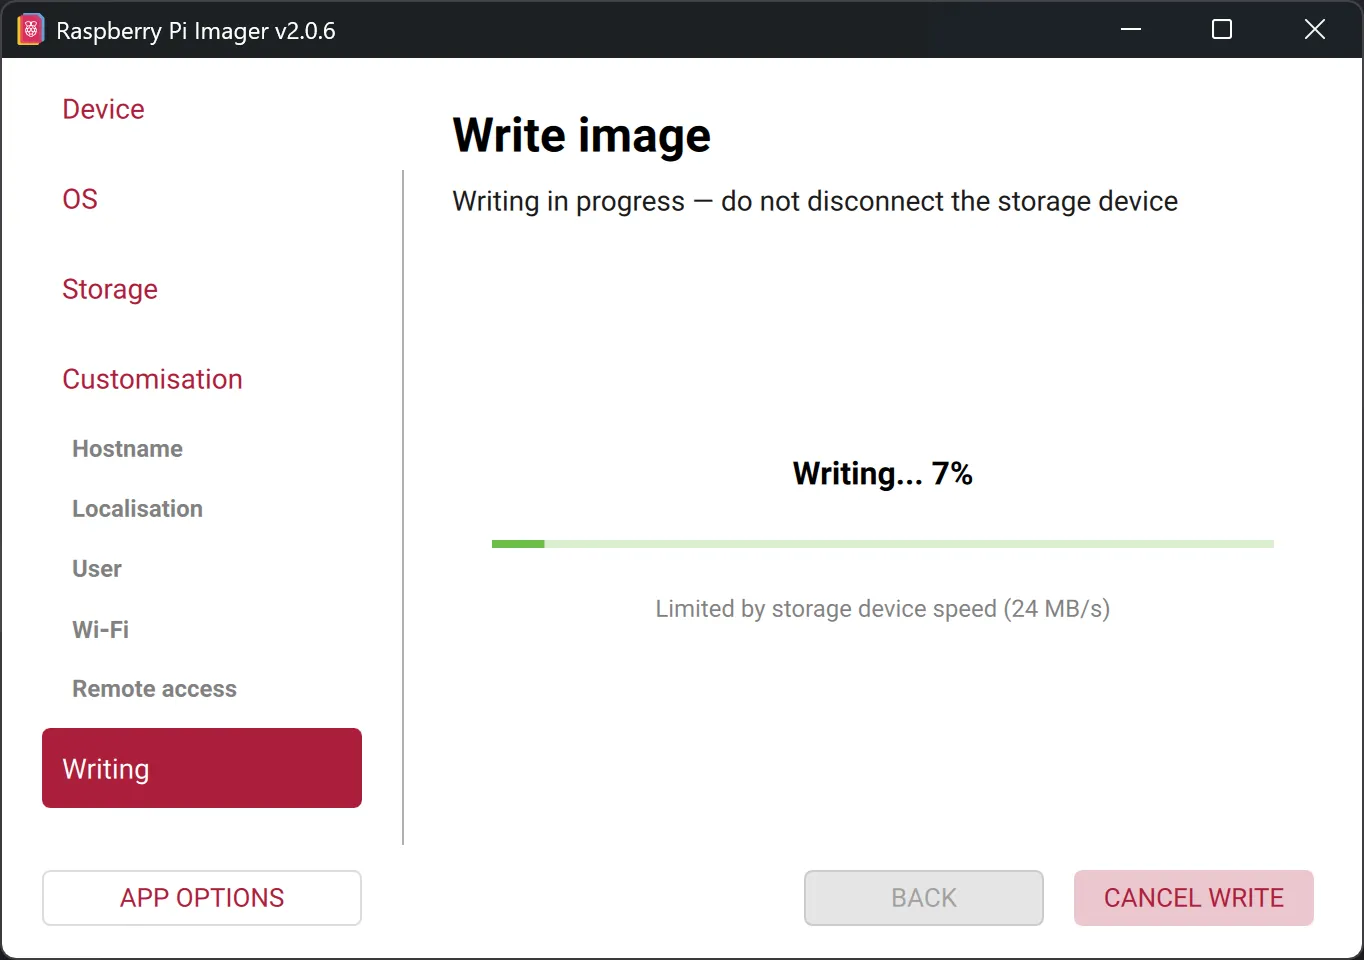
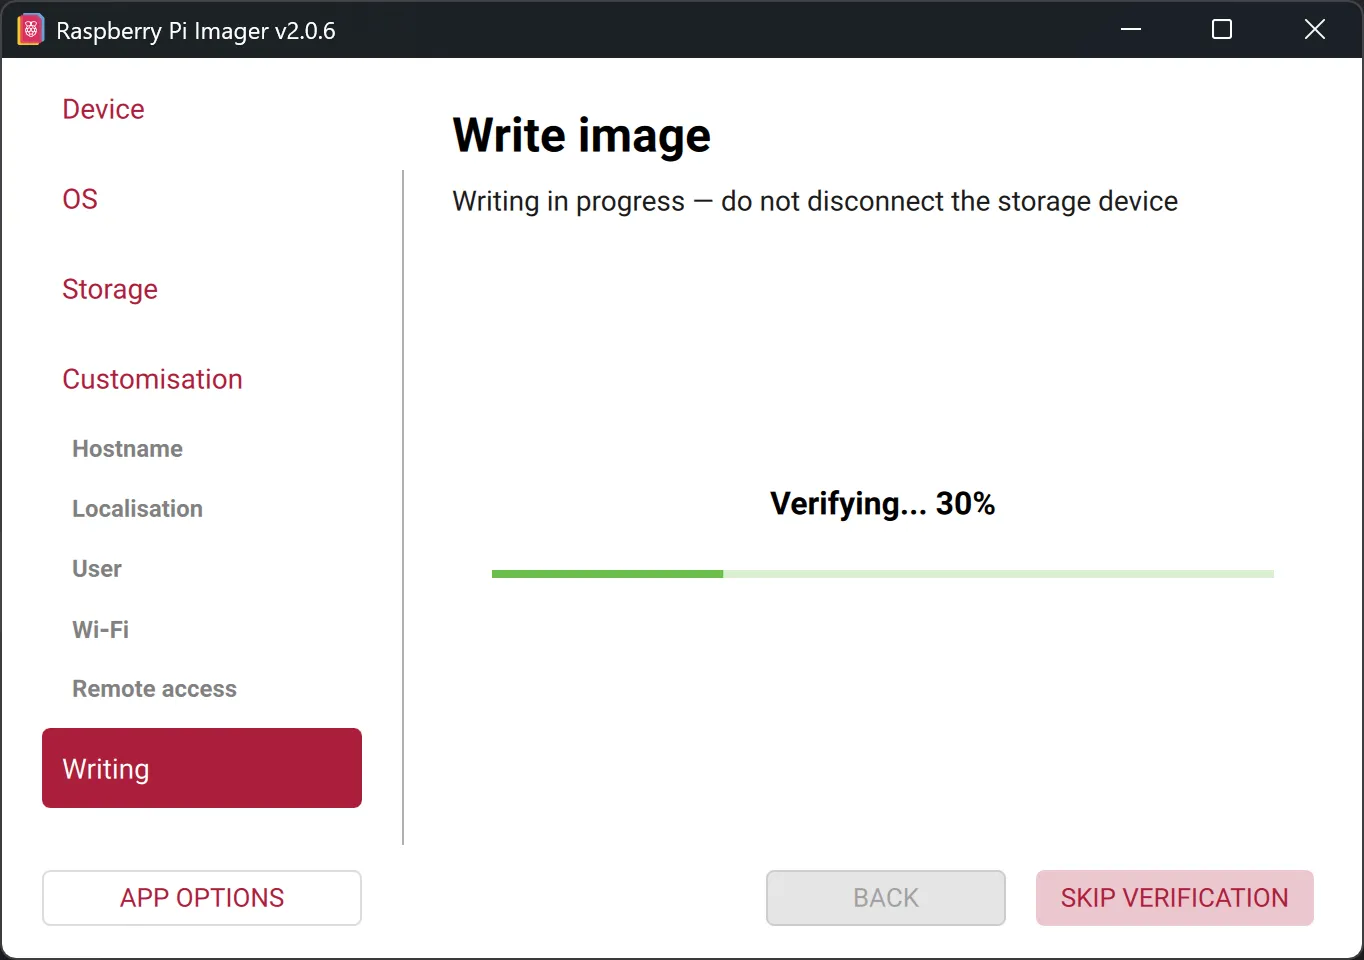
All data on your SD card will now be deleted and Raspberry Pi OS will be installed. This process can take about 10 minutes.
-
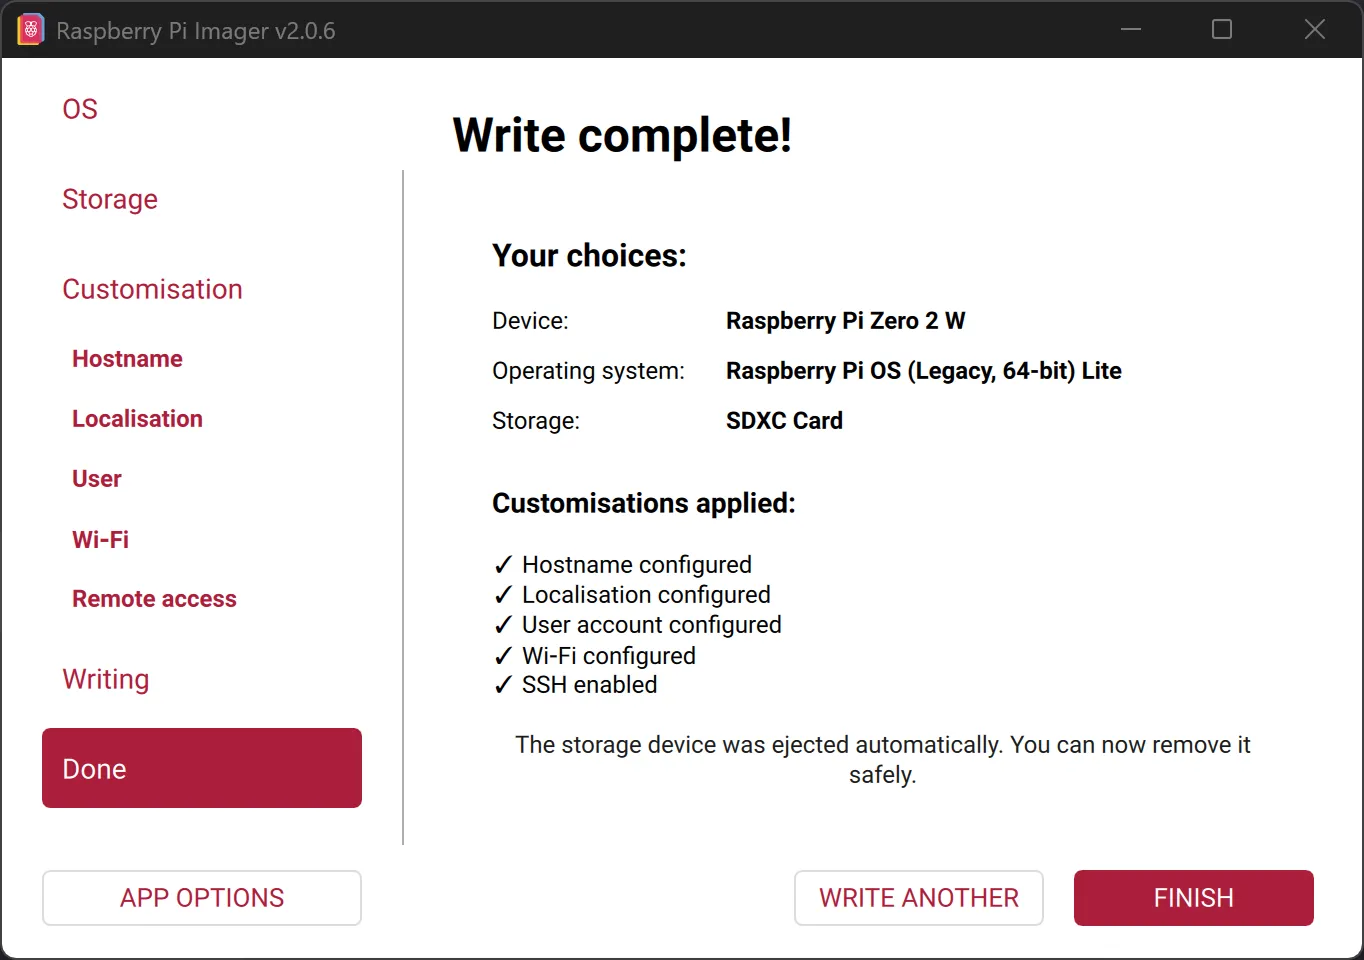
Once the SD card is ready, a corresponding message appears. You can now remove the SD card from the computer.